Structure of porous solids
The easiest visualization that can be created with PoreScene is a representation of the 3D structure of a porous material (no matter if it is on nano-, micro- or centimeter length scale). The data used for this type of visualization is usually tomographic data, which is often available as a binarized 3D voxel image.
To create a visualization of the material, this example shows how to generate a mesh of the voxel data, load it into the scene, and render it to a PNG with a transparent background.
As an example, this tutorial uses a binarized volume of a freeze-dried sugar solution that was captured with X-ray micro-computed tomographic imaging [1], which is available in PoreScene’s repository on GitHub: data/img_bin.raw
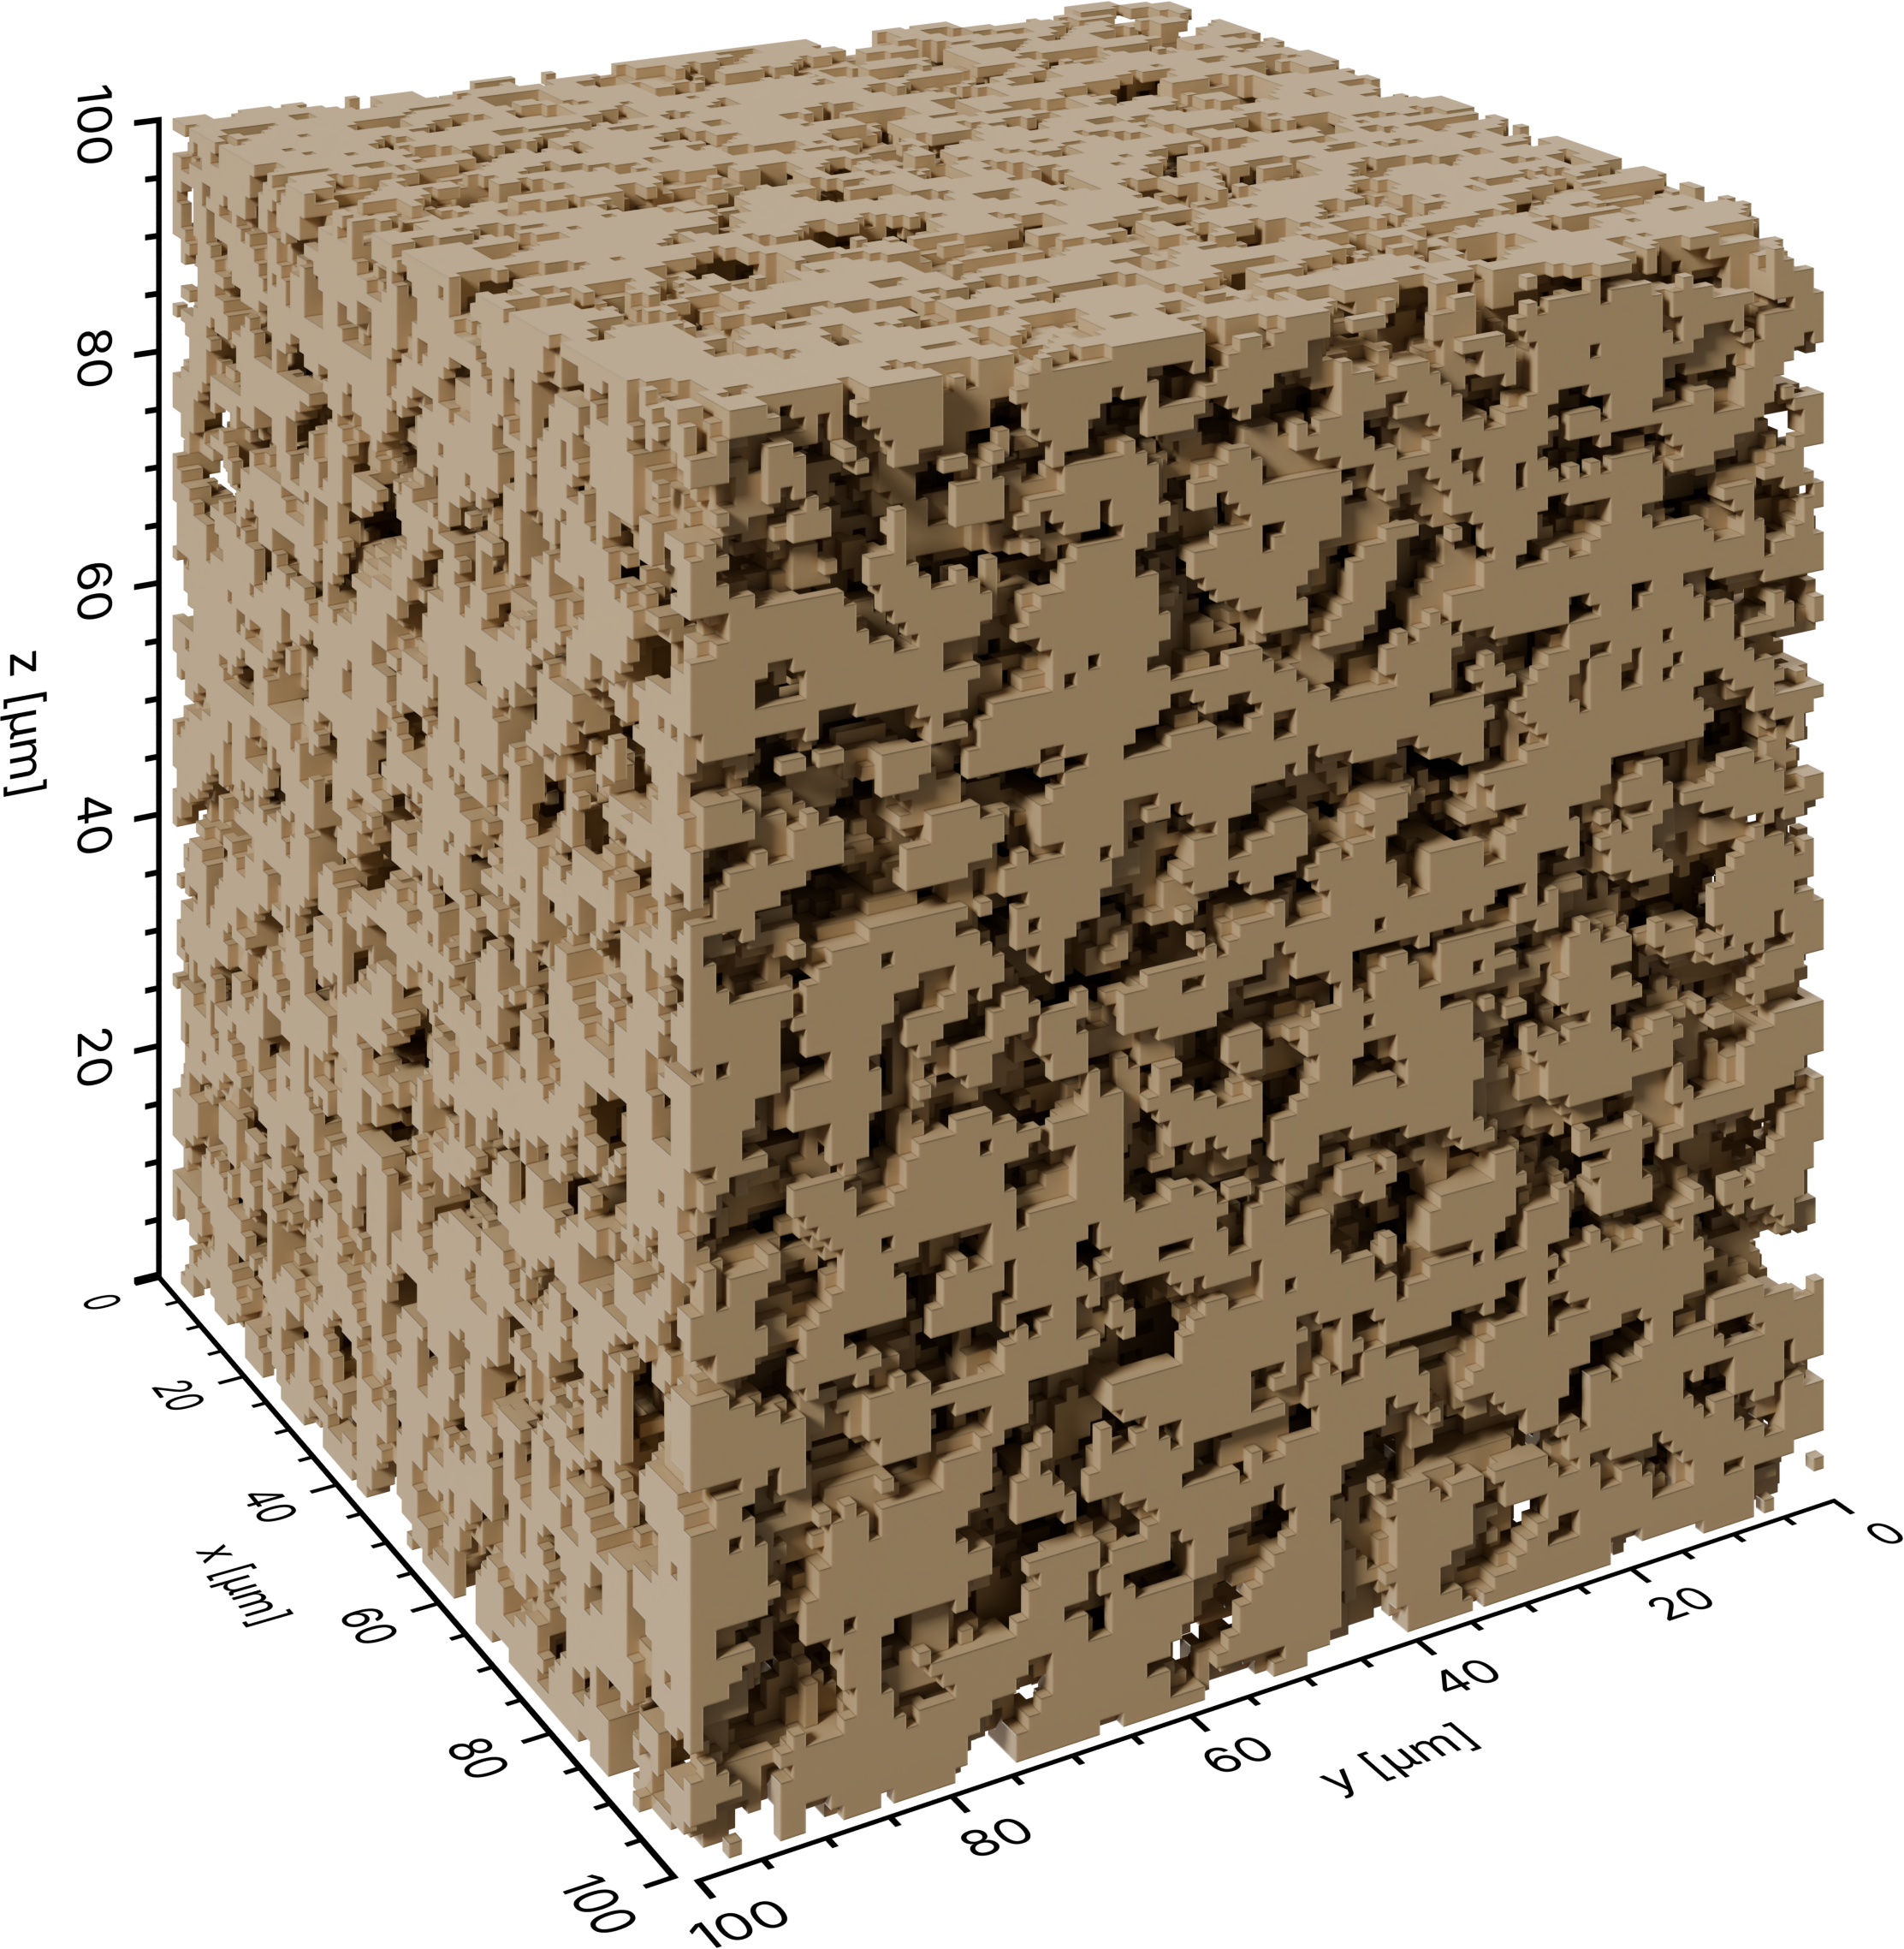
The rendered result: the solid phase of a freeze-dried sugar solution, captured with X-ray micro-computed tomography.
Step-by-step guide
1. Import required modules
Make sure to have porescene installed (see Installation). At first, required modules need to be imported:
from pathlib import Path

import numpy as np

from porescene import io, utility
from porescene.scene import Scene
Module utility provides a function that converts the binarized
volume image into a mesh, which can be subsequently saved with functions from
io in OBJ or PLY formats. Scene
loads and renders the created mesh. File paths and directories are handled throughout
PoreScene with the built-in pathlib module.
2. Set utility variables
After that, a directory for saving the mesh file and the rendered images is specified:
# data subdirectory
pth_data = Path.cwd() / "data"
Next, some required information about the volume image is saved:
# [m] edge length of a single voxel
L_vxl = 1e-6

# [vxl] image resolution
res_img = np.array((100, 100, 100))

# [m] domain dimensions
extent = res_img * L_vxl
extent is the physical extent of the volume in meters – here 100 voxels of
1 µm along each edge. It calibrates the axis ticks and sets the aspect ratio of the
scene, so it always stays in meters regardless of the unit you display (see
Concepts & Conventions).
3. Mesh the binarized volume
The binarized volume data is loaded from file and reshaped into its original
resolution. volume2mesh() turns the binarized volume into a
mesh (every matrix element in img_bin with a value of 1 gets included).
mesh2ply() writes the result to disk. You can skip this step in
case you already have a geometric object file of your solid.
# load and reshape binarized volume image
img_bin = np.fromfile(pth_data / "img_bin.raw", dtype=np.uint8)
img_bin = img_bin.reshape(res_img)

# mesh representation of the volume image
mesh = utility.volume2mesh(img_bin, L_vxl, name="solid")

# export the mesh in binary PLY format
io.mesh2ply(pth_data / "solid.ply", mesh)
Tip
Use mesh2obj() instead to write an OBJ file. PoreScene also
imports .stl, .abc, .usd, .fbx and .glb/.gltf meshes from
other tools.
4. Scene setup
Scene initializes the rendering stage with camera
and lighting. The scene is empty by default – every visible element is added
explicitly in the next steps.
# initialize a new scene
sc = Scene(extent)
For the rendering, two components need to be added to the Scene:
the previously generated mesh of the solid and axes around it:
# add axes to the scene
sc.create_axes()

# add a solid object to the scene
sc.create_solid(pth_data / "solid.ply")

# render the scene
pth_img = sc.render(pth_data / "solid+axes.png")
With the final line, Blender renders the scene and saves the image as
solid+axes.png in the given data directory.
Full script
The complete example, also available on GitHub: example/solid.py.
 1from pathlib import Path
 2
 3import numpy as np
 4
 5from porescene import io, utility
 6from porescene.scene import Scene
 7
 8# =============================================================================
 9# Parameters
10
11# data subdirectory
12pth_data = Path.cwd() / "data"
13
14# [m] edge length of a single voxel
15L_vxl = 1e-6
16
17# [vxl] image resolution
18res_img = np.array((100, 100, 100))
19
20# [m] domain dimensions
21extent = res_img * L_vxl
22
23
24# =============================================================================
25# Meshing
26
27# load and reshape binarized volume image
28img_bin = np.fromfile(pth_data / "img_bin.raw", dtype=np.uint8)
29img_bin = img_bin.reshape(res_img)
30
31# mesh representation of the volume image
32mesh = utility.volume2mesh(img_bin, L_vxl, name="solid")
33
34# export the mesh in binary PLY format
35io.mesh2ply(pth_data / "solid.ply", mesh)
36
37
38# =============================================================================
39# Scene configuration and rendering
40
41# initialize a new scene
42sc = Scene(extent)
43
44# add axes to the scene
45sc.create_axes()
46
47# add a solid object to the scene
48sc.create_solid(pth_data / "solid.ply")
49
50# render the scene
51pth_img = sc.render(pth_data / "solid+axes.png")