Network topology
A pore network model reduces a porous material to its topology: every pore becomes a node and every connecting throat an edge. PoreScene renders this graph in stick-and-ball form – a sphere for each pore and a cylinder for each throat – so the connectivity of the void space can be inspected directly.
This example loads a pore network from a MATLAB file, gives every pore and throat a uniform radius so the plain topology stands out, and renders the network with all pores colored orange and all throats colored dark green, wrapped in on-scale axes.
As an example, this tutorial uses the pore network extracted from the freeze-dried sugar solution captured with X-ray micro-computed tomographic imaging [1] that is also used in the solid structure and segmentation examples, available in PoreScene’s repository on GitHub: data/pnm.mat
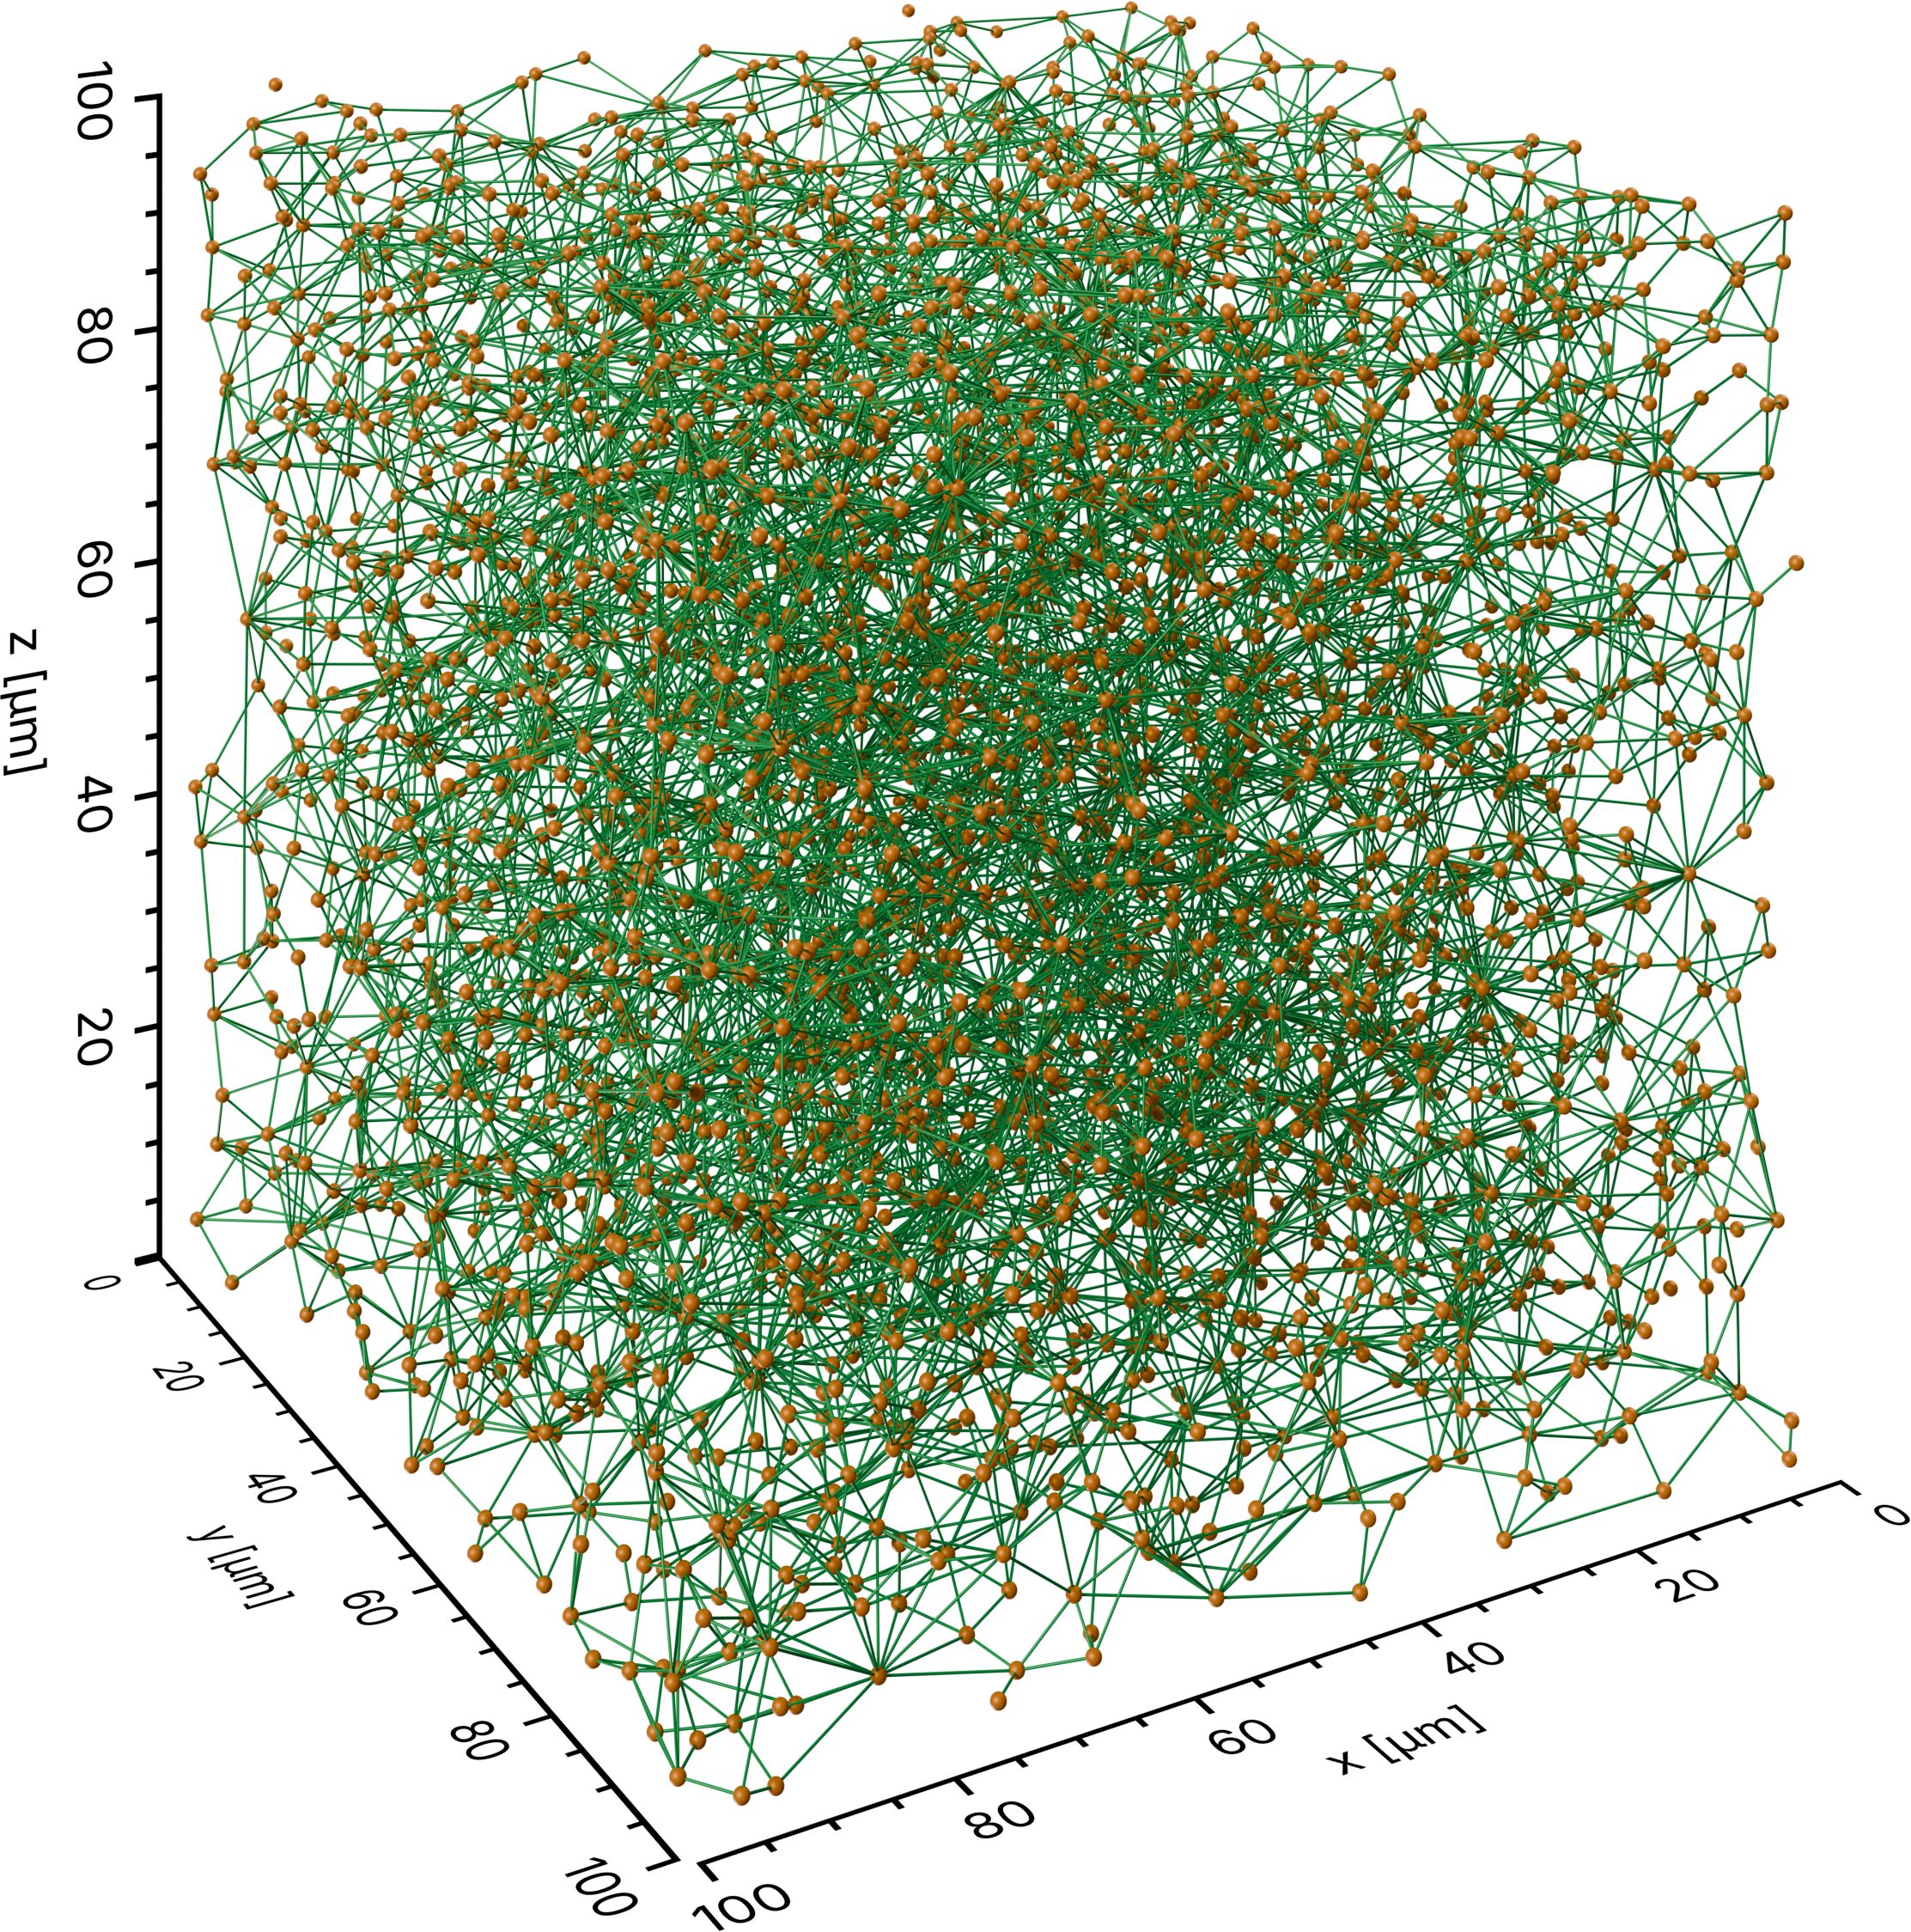
The rendered result: the pore network in stick-and-ball representation, with every pore colored orange, every throat colored dark green, and on-scale axes.
Step-by-step guide
1. Import required modules
Make sure to have porescene installed (see Installation). At first, required modules need to be imported:
import json
from pathlib import Path

import numpy as np

from porescene import worker
from porescene.color.palette import fefa
from porescene.model import PoreNetwork
from porescene.scene import Scene
PoreNetwork holds the pore and throat data, while
Scene sets up the rendering stage. Module
worker provides the high-level helpers that build the stick-and-ball
geometry and render it. The fefa module supplies the
named colors of the fefa palette – here orange
and darkgreen. File paths and directories are
handled throughout PoreScene with the built-in pathlib module, and json
reads the variable mapping.
2. Set utility variables
After that, the directory holding the input data and receiving the rendered image is specified:
# data directory
pth_data = Path.cwd() / "data"
3. Load the pore network
The network is stored in a MATLAB file. Because the variable names inside such a file
differ from project to project, from_mat() takes a
mapping from PoreScene’s attribute names to the variable names in the file. That mapping
lives in map_vars.json and is loaded first:
# load variable mapping for variable import from .mat file
with open(pth_data / "map_vars.json") as f:
    map_vars = json.load(f)

# load pore network data from MAT file
pn = PoreNetwork.from_mat(pth_data / "pnm.mat", map_vars["data_network"])
The loaded PoreNetwork carries the pore positions and radii,
the throat radii, and the throat-to-pore connectivity that PoreScene needs to place the
spheres and cylinders.
To emphasize the network topology rather than the pore-size distribution, every pore and every throat is given a single uniform radius (0.6 µm and 0.1 µm here), overwriting the values imported from file:
# unify pore and throat radii
pn.pore_radius = np.ones(pn.pore_count) * 0.6e-6
pn.throat_radius = np.ones(pn.throat_count()) * 0.1e-6
pore_count and
throat_count() report how many pores and throats the
network holds, so the constant-radius arrays match the network exactly.
4. Scene setup
The scene is created directly from the physical extent of the network.
Scene wipes Blender’s default contents and sets up a camera,
lights and Cycles render settings, while the extent – taken from the
PoreNetwork – calibrates the axes to the real dimensions of
the sample (see Concepts & Conventions):
# create a scene sized to the network extent
sc = Scene(pn.extent)
Tip
To reuse a saved camera, lighting and axis configuration instead of the defaults,
load it from a PoreScene JSON file with
Scene.from_json().
build_structure() then builds the stick-and-ball geometry: it
computes the throat end points from the connectivity and creates one sphere per pore and
one cylinder per throat. Calibrated axes are added around the network:
# add cylinders and spheres to the scene
worker.build_structure(sc, pn)

# add axes around the scene
sc.create_axes()
5. Color and render
Coloring in PoreScene is per element: the sphere and cylinder layers each expect one
Color per pore and per throat. To color the whole network
uniformly, the same color is repeated for every element – orange for all pores and dark
green for all throats:
# color every pore orange and every throat dark green
color_pores = [fefa.orange for _ in range(pn.pore_count)]
color_throats = [fefa.darkgreen for _ in range(pn.throat_count())]
make_img() shows the requested layers, applies the given colors,
renders the scene, and writes the resulting PNG into the data directory. Only layers that
were actually built are drawn, so the unused cluster layer is skipped automatically. The
name_spheres and name_cylinders labels are embedded in the output file name,
yielding cylinder-green+sphere-orange+axes.png:
# render the scene with uniform pore and throat colors
worker.make_img(
    pth_data,
    sc,
    color_spheres=color_pores,
    color_cylinders=color_throats,
    name_spheres="orange",
    name_cylinders="green",
)
Tip
Any per-pore and per-throat color list works here, so the same call can render a
property-based coloring instead of a uniform one. The dedicated workers
make_radius() and
make_coordination_number() build such lists for you – see the
network morphology and
network coordination number examples.
Full script
The complete example, also available on GitHub: example/network_topology.py.
 1import json
 2from pathlib import Path
 3
 4import numpy as np
 5
 6from porescene import worker
 7from porescene.color.palette import fefa
 8from porescene.model import PoreNetwork
 9from porescene.scene import Scene
10
11# =============================================================================
12# Import Parameters
13
14# data directory
15pth_data = Path.cwd() / "data"
16
17
18# =============================================================================
19# Scene configuration
20
21# load variable mapping for variable import from .mat file
22with open(pth_data / "map_vars.json") as f:
23    map_vars = json.load(f)
24
25# load pore network data from MAT file
26pn = PoreNetwork.from_mat(pth_data / "pnm.mat", map_vars["data_network"])
27
28# unify pore and throat radii
29pn.pore_radius = np.ones(pn.pore_count) * 0.6e-6
30pn.throat_radius = np.ones(pn.throat_count()) * 0.1e-6
31
32# load PoreScene config from JSON file
33sc = Scene(pn.extent)
34
35# add cylinders and spheres to the scene
36worker.build_structure(sc, pn)
37
38# add axes around the scene
39sc.create_axes()
40
41# color every pore orange and every throat dark green
42color_pores = [fefa.orange for _ in range(pn.pore_count)]
43color_throats = [fefa.darkgreen for _ in range(pn.throat_count())]
44
45# render the scene with uniform pore and throat colors
46worker.make_img(
47    pth_data,
48    sc,
49    color_spheres=color_pores,
50    color_cylinders=color_throats,
51    name_spheres="orange",
52    name_cylinders="green",
53)